


Crimping Tool Leave a comment
What Is a Crimping Tool ? (And How to Use It)
A crimping tool is a must-have for electrical wiring, network cables, and home systems. Whether you’re a professional or a DIY enthusiast, this tool is essential. In this guide, we’ll explore what a crimping tool is, why it’s important, and how to use it step by step.
What Is a Crimping Tool?
A crimping tool is a handheld device to attach a wire to a connector. Unlike soldering, which uses heat, crimping applies mechanical pressure. This creates a solid and reliable connection that resists corrosion and loosening over time.
Crimping tools are commonly used in:
-
Electrical and electronic wiring
-
Telecommunications (RJ45 or RJ11 connectors)
-
Networking (Ethernet cables)
-
Automotive wiring
-
Audio/visual setups
-
Industrial controls and automation
-
DIY home repairs
Compared to soldering, crimping is faster, cleaner, and more efficient.
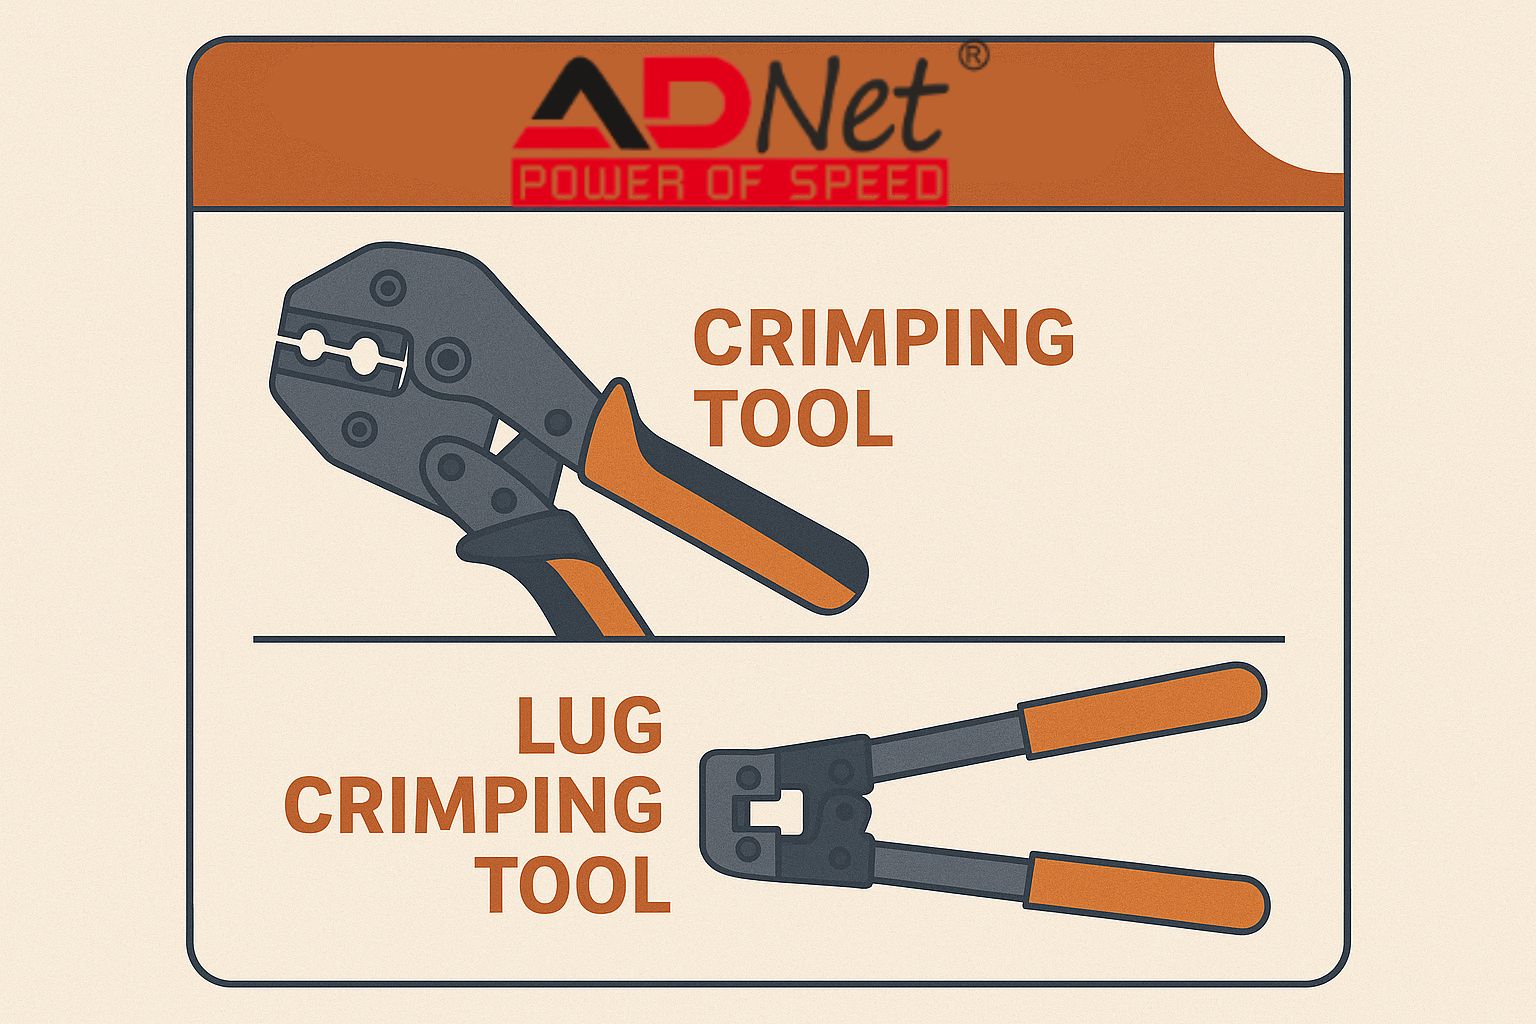
Types of Crimping Tools
Different tasks require different crimping tools. Here are the most common types:
1. Manual Crimping Tool
-
Resembling a pair of pliers, this tool is perfect for small jobs.
-
It’s the best option for household use and light tasks.
2. Ratchet Crimping Tool
-
This tool provides consistent pressure, ensuring a perfect crimp every time.
-
It’s ideal for professional jobs or more challenging tasks.
3. Hydraulic Crimping Tool
-
Uses hydraulic pressure to create crimped connections.
-
Designed for heavy-duty, high-power jobs with larger wires.
4. Electric Crimping Tool
-
This tool speeds up the crimping process, making it great for large-scale projects.
-
It reduces operator fatigue and is widely used in industries with high-volume work.
Why Should You Use a Crimping Tool?
Here are the reasons crimping tools are preferred over other methods like soldering:
-
Speed: Crimping is faster and doesn’t require heat.
-
Reliability: Crimped connections are stronger and more durable.
-
Safety: Crimping doesn’t use heat, which makes it safer for many environments.
-
Durability: Crimped connections can better withstand vibration and movement.
In short, crimping ensures your electrical and network connections last longer and stay secure.
How to Use a Crimping Tool (Step-by-Step)
Now that you know what a crimping tool is, let’s walk through how to use it properly:
Step 1: Choose the Right Crimping Tool
-
Pick the correct tool for the job:
-
RJ45 crimpers for Ethernet connectors.
-
Insulated terminal crimpers for automotive connectors.
-
Ratchet or hydraulic crimpers for heavy-duty work.
-
2: Strip the Wire Insulation
-
Use a wire stripper to remove about 1/4 to 1/2 inch of insulation from the wire end.
-
Tip: Be careful not to damage the copper wire, as this can weaken the connection.
3: Insert the Connector
-
Place the stripped wire into the connector’s barrel. Make sure the wire goes all the way in and is positioned correctly.
-
Tip: Ensure no wire strands are sticking out.
4: Insert the Connector into the Crimping Tool
-
Open the crimping tool and place the connector into the correct size slot. Most tools have color-coded or labeled dies to help you match the right size.
5: Apply Pressure to Crimp
-
Squeeze the tool’s handles firmly. For ratchet crimpers, continue squeezing until the tool releases on its own, indicating the crimp is done.
-
This step ensures the connector is securely attached to the wire.
6: Inspect the Crimp
-
Gently tug on the wire to make sure it’s secure. A well-crimped connection will be tight and free of gaps.
-
For RJ45 or RJ11 connectors, use a tester to double-check that all wires are connected properly.
Pro Tips for Better Crimping Results
-
Choose the right die size: Make sure the die matches the wire and connector size.
-
Avoid over-crimping: Too much pressure can damage the connector or wire.
-
Insert the wire properly: Ensure the wire goes all the way into the connector.
-
Use ratchet crimpers for consistency: These tools apply even pressure every time.
-
Add heat shrink tubing: After crimping, use heat shrink tubing for extra protection.
Common Mistakes to Avoid
Here are some common crimping mistakes and how to avoid them:
-
Wrong crimp die size: Always match the wire and connector to the correct die size.
-
Not fully inserting the wire: The wire must be pushed all the way into the connector to ensure a secure connection.
-
Weak or loose crimps: Apply consistent and firm pressure when crimping.
-
Damaging the wire: Remember Be gentle when stripping the wire insulation.
-
Skipping the testing step: Always test your crimp to make sure it’s secure.
Conclusion
A crimping tool is a reliable, efficient device for creating secure, long-lasting connections in electrical and network systems. By following these steps and using the right tools, you can create professional-level connections for everything from home audio systems to industrial machinery.